On this page
custom_typography
Install new theme in Typora
How to install a new custom theme in Typora.
Typora is a minimalist text editor that renders markdown and code in real-time. The software comes with several default themes that can be applied through the Themes option menu.
First, find which custom theme you’d like to install from the Typora themes page.
Download the theme.
Open Typora and navigate to the File > Preferences menu. The keyboard shortcut is
Ctrl + comma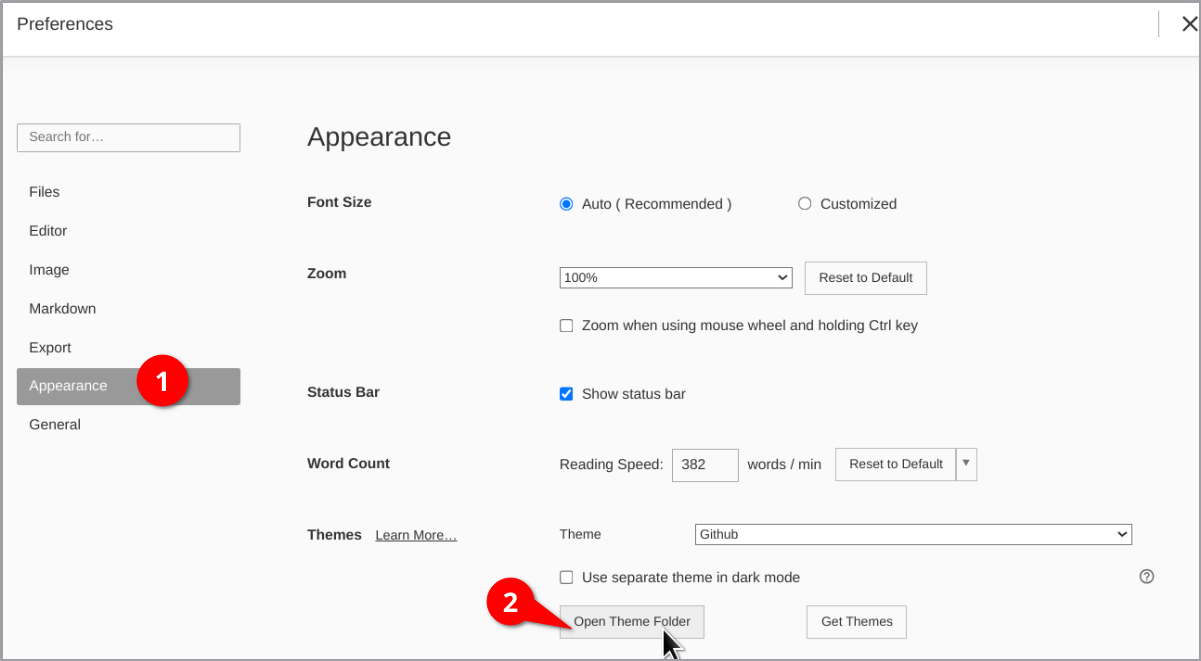
Go to the Appearance tab and Open Theme Folder.
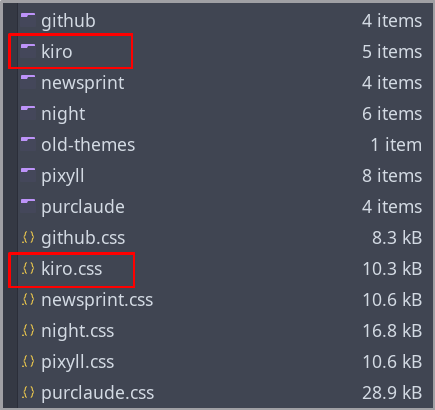
Extract the files from the downloaded
.zipinto the themes folder. You should have:- A folder containing the theme’s fonts (
.tff,.otf,.wofffiles) - A
.cssfile with the theme’s styling
- A folder containing the theme’s fonts (
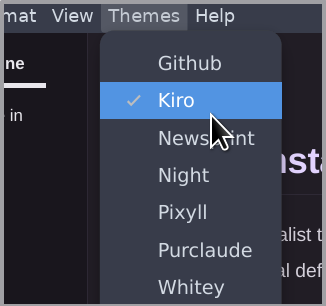
Restart Typora to refresh the available themes.
Apply the new theme through the Themes menu, or from File > Preferences > Appearance options.

Last updated 25 Jun 2026, 10:37 -0700.